How to Standardize File Naming Conventions for High-Volume POD Stores
In the world of high-volume Print-on-Demand (POD), data architecture is everything. When you are managing a handful of designs, drag-and-drop folder organization works fine. But the moment you scale your operations to thousands of listings across multiple storefronts like Redbubble, TeePublic, or Etsy, a chaotic file system becomes an expensive operational bottleneck.
Every minute spent searching for a missing transparent PNG, or manually verifying if a file is optimized for light or dark apparel, is a minute stolen from scaling your business.
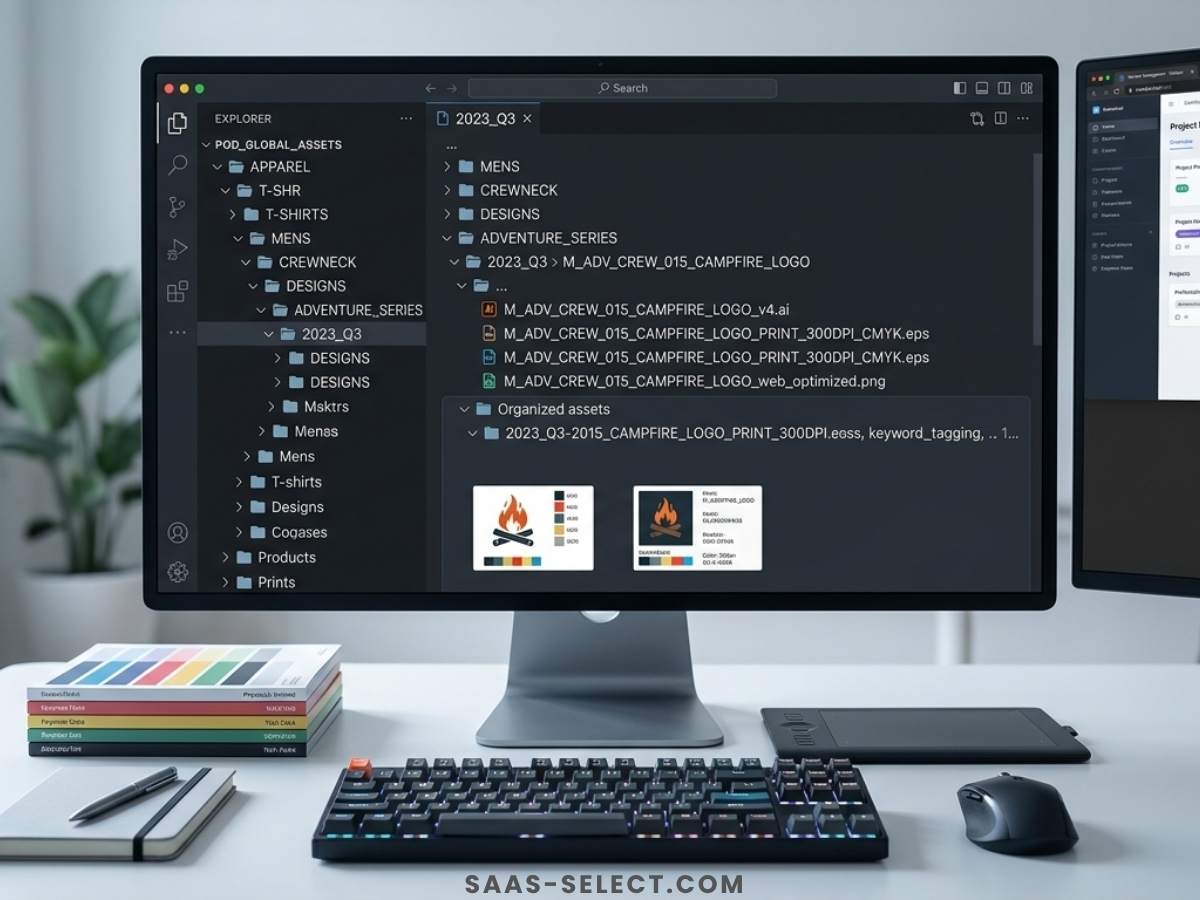
To unlock the power of automated bulk mockup generation and seamless listing distribution, you need a strict, programmatic file-naming convention. Here is the exact structural framework used by elite digital creators to maintain a clean Digital Asset Management (DAM) workflow.
The Hidden Cost of Bad Naming Habits
Most independent creators start out naming their assets based on visual memory:
cool_skull_final.pngskull_design_for_hoodie_black.pnguntitled_art_2_fixed.png
While human brains can decode these names on a small scale, automation engines cannot. If you use bulk listing software or localized Photoshop scripting engines (like BulkMockup), your tools rely heavily on structured file metadata and predictable string patterns.
A standardized naming convention acts as a database key. It allows your automation tools to instantly identify the niche, design type, and visual limitations of an asset without requiring a manual human preview.
Anatomy of the Perfect POD File-Naming Framework
A scalable file name must be modular, lowercase, and separated strictly by hyphens (kebab-case) to ensure web compatibility and smooth script parsing.
Here is the industry-standard formula:
[collection/niche]-[design-core-name]-[style-modifier]-[target-placement]-[version].[ext]
Let’s break down each component of this structural string:
1. Collection or Niche Tag ([collection/niche])
This identifies the macro-theme of the design asset. It allows you to sort and batch-process hundreds of files instantly within your DAM software (such as Eagle or spreadsheet inventory trackers).
- Examples:
dark-academia,retro-80s,library-culture,tabletop-rpg.
2. Design Core Name ([design-core-name])
The unique identifier of the graphical concept. Keep this descriptive but concise, using exact keywords that map to your listing titles or SEO tags.
- Examples:
archivist-necromancer,bibliophile-skull,interlibrary-summoner.
3. Style or Color Modifier ([style-modifier])
Crucial for asset allocation. This component tells you (and your automated mockup generator) the graphic’s intrinsic color rules. For example, a vintage woodcut design with pure white linework needs to be paired strictly with dark-colored support materials (Black, Charcoal, Deep Navy) and must never be placed on a white background.
- Examples:
white-linework,distressed-colorful,dark-monochrome.
4. Target Placement ([target-placement])
Defines the technical intent of the graphic dimension or layout. This ensures you don’t accidentally push a full-torso t-shirt print onto a sleeve layout or cross over hoodie pockets during automated scaling.
- Examples:
front-torso,pocket-center,sticker-diecut.
5. Version Control ([version])
Never overwrite files. Use simple sequential version increments (v1, v2) to track design iterations, scale adjustments, or color corrections.
Real-World Workflow Application
Let’s look at how this structural formula plays out in a production environment.
If you are uploading a batch of gothic, woodcut-themed graphics designed specifically for dark apparel items, your asset library should look like this:
dark-academia-the-mimic-white-linework-front-torso-v1.pngdark-academia-the-archivist-white-linework-front-torso-v1.pnglibrary-culture-interlibrary-summoner-dark-monochrome-pocket-center-v2.png
Why this structure changes everything:
- Instant Bulk Sorting: Taping
white-lineworkinto your asset manager immediately filters every file that requires a dark-colored apparel template. - Automated Metadata Mapping: Advanced POD listing tools can read these file names via spreadsheets, auto-generating clean titles and internal organization tags using simple data parsing formulas.
- Flawless Asset Management: If a customer reports a printing issue on a graphic, you can trace the exact file back to your master inventory in seconds without guessing which “final_final” version was used.
Implementing the System in your Daily Workflow
Transitioning to a standardized convention requires discipline, but you can ease the friction with these three operational rules:
- Enforce the Rule at Export: Never save a file to a temporary directory with a generic software name. Name the file properly directly inside your design software (Photoshop, Illustrator, Procreate) during the final asset export phase.
- Leverage Batch Renaming Tools: If you have an existing library of chaotic files, use localized batch renaming utility software or digital asset managers (like Eagle.cool) to clean up old strings instantly using pattern rules.
- Align with Your Spreadsheet Inventory: Ensure that the exact file name string matches the tracking ID row in your main business operations spreadsheet. This creates a bulletproof single source of truth for your digital catalog.
By replacing chaotic folder systems with a strict, programmatic file-naming infrastructure, you lay the foundational tracking layer required to automate your media assets, scale your listings, and run your print-on-demand shop like a true tech enterprise.